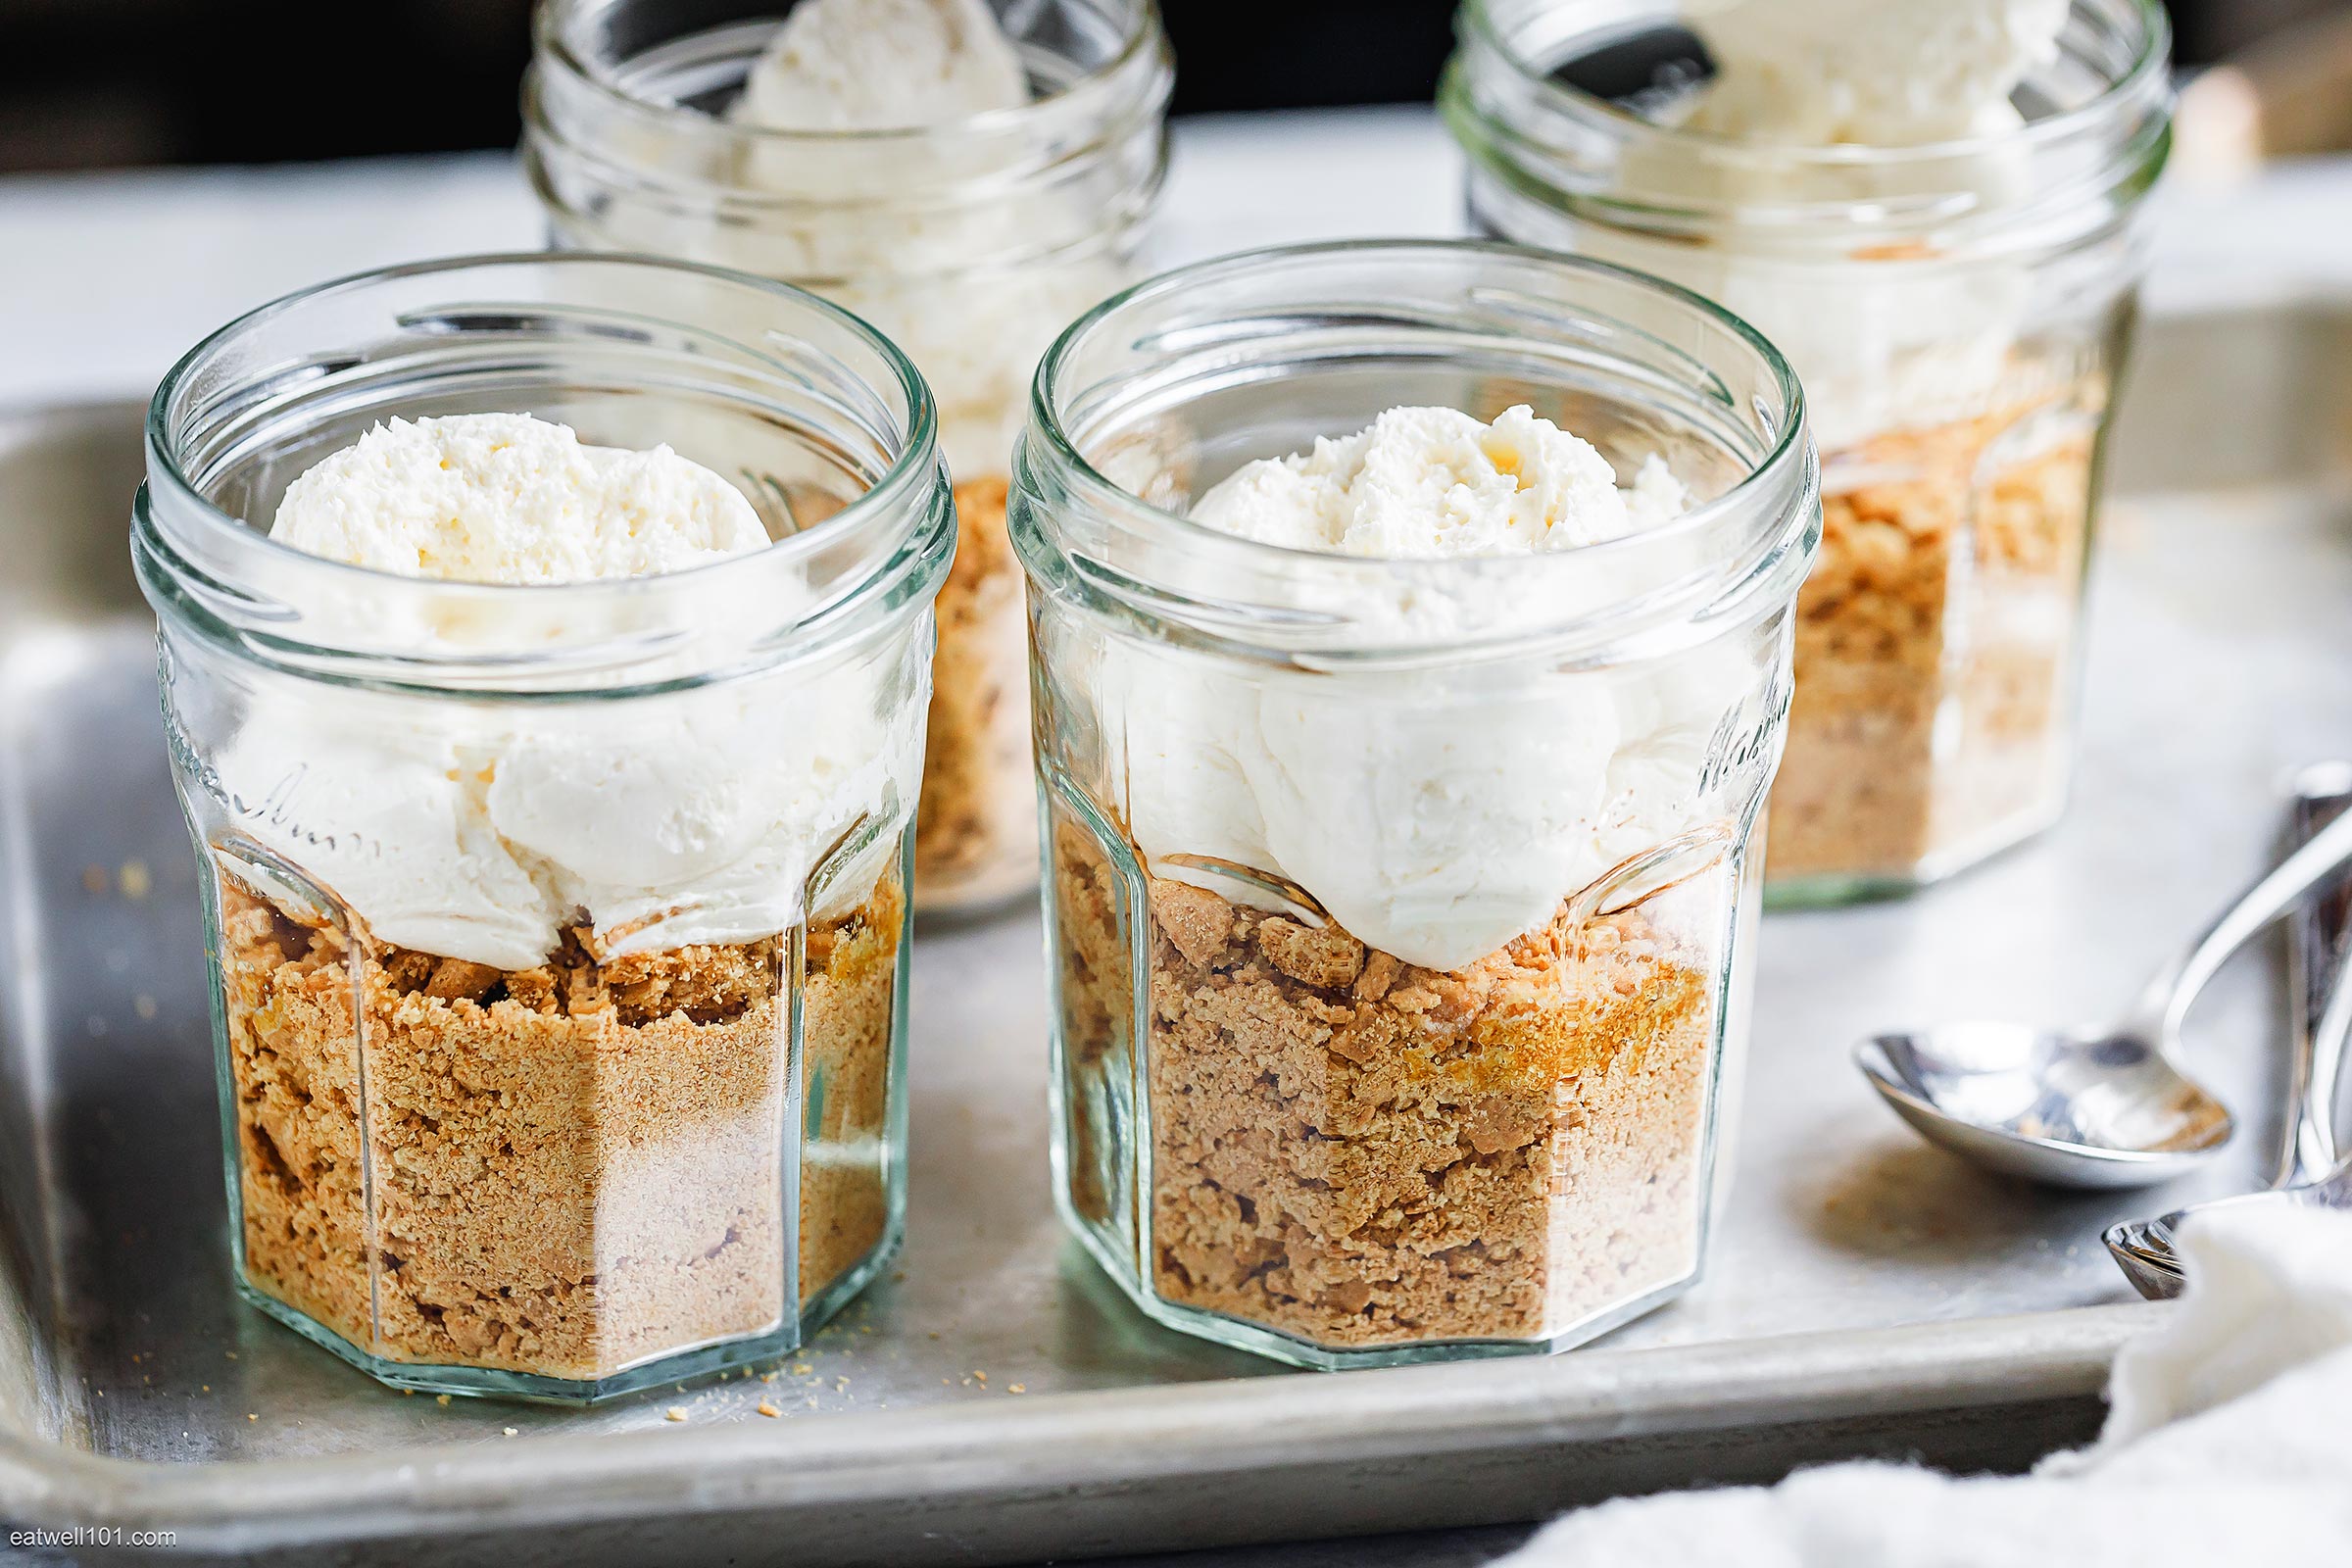
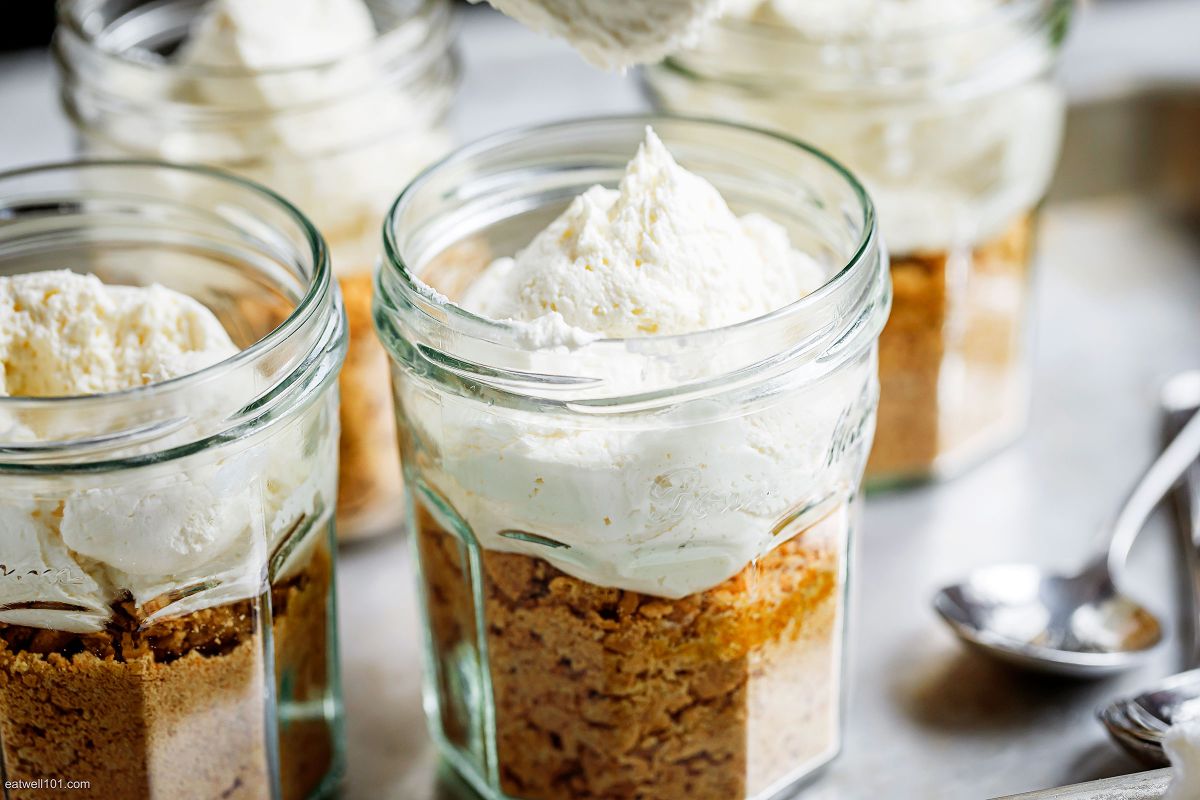
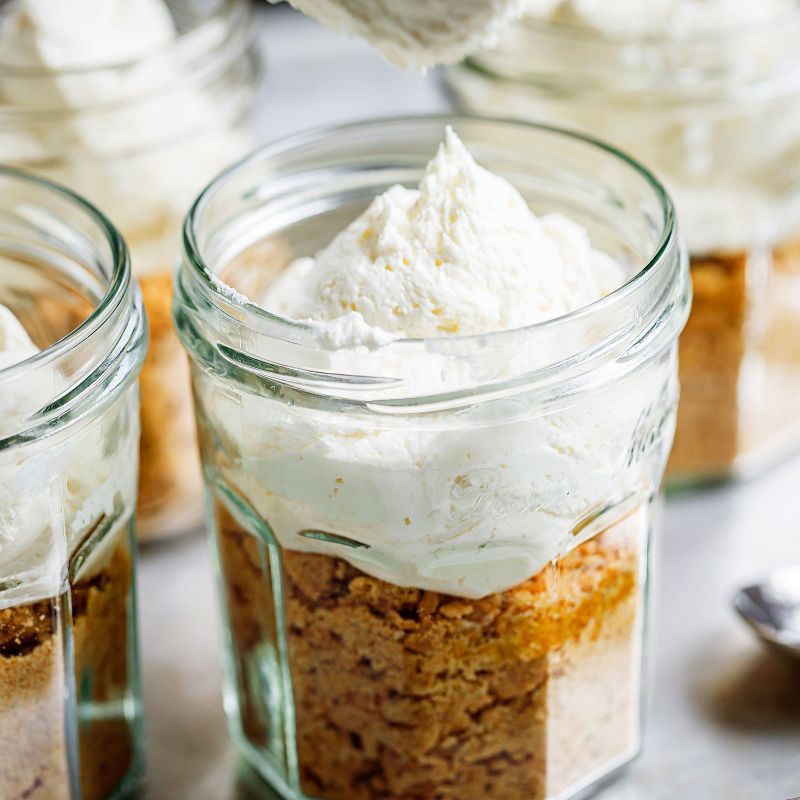
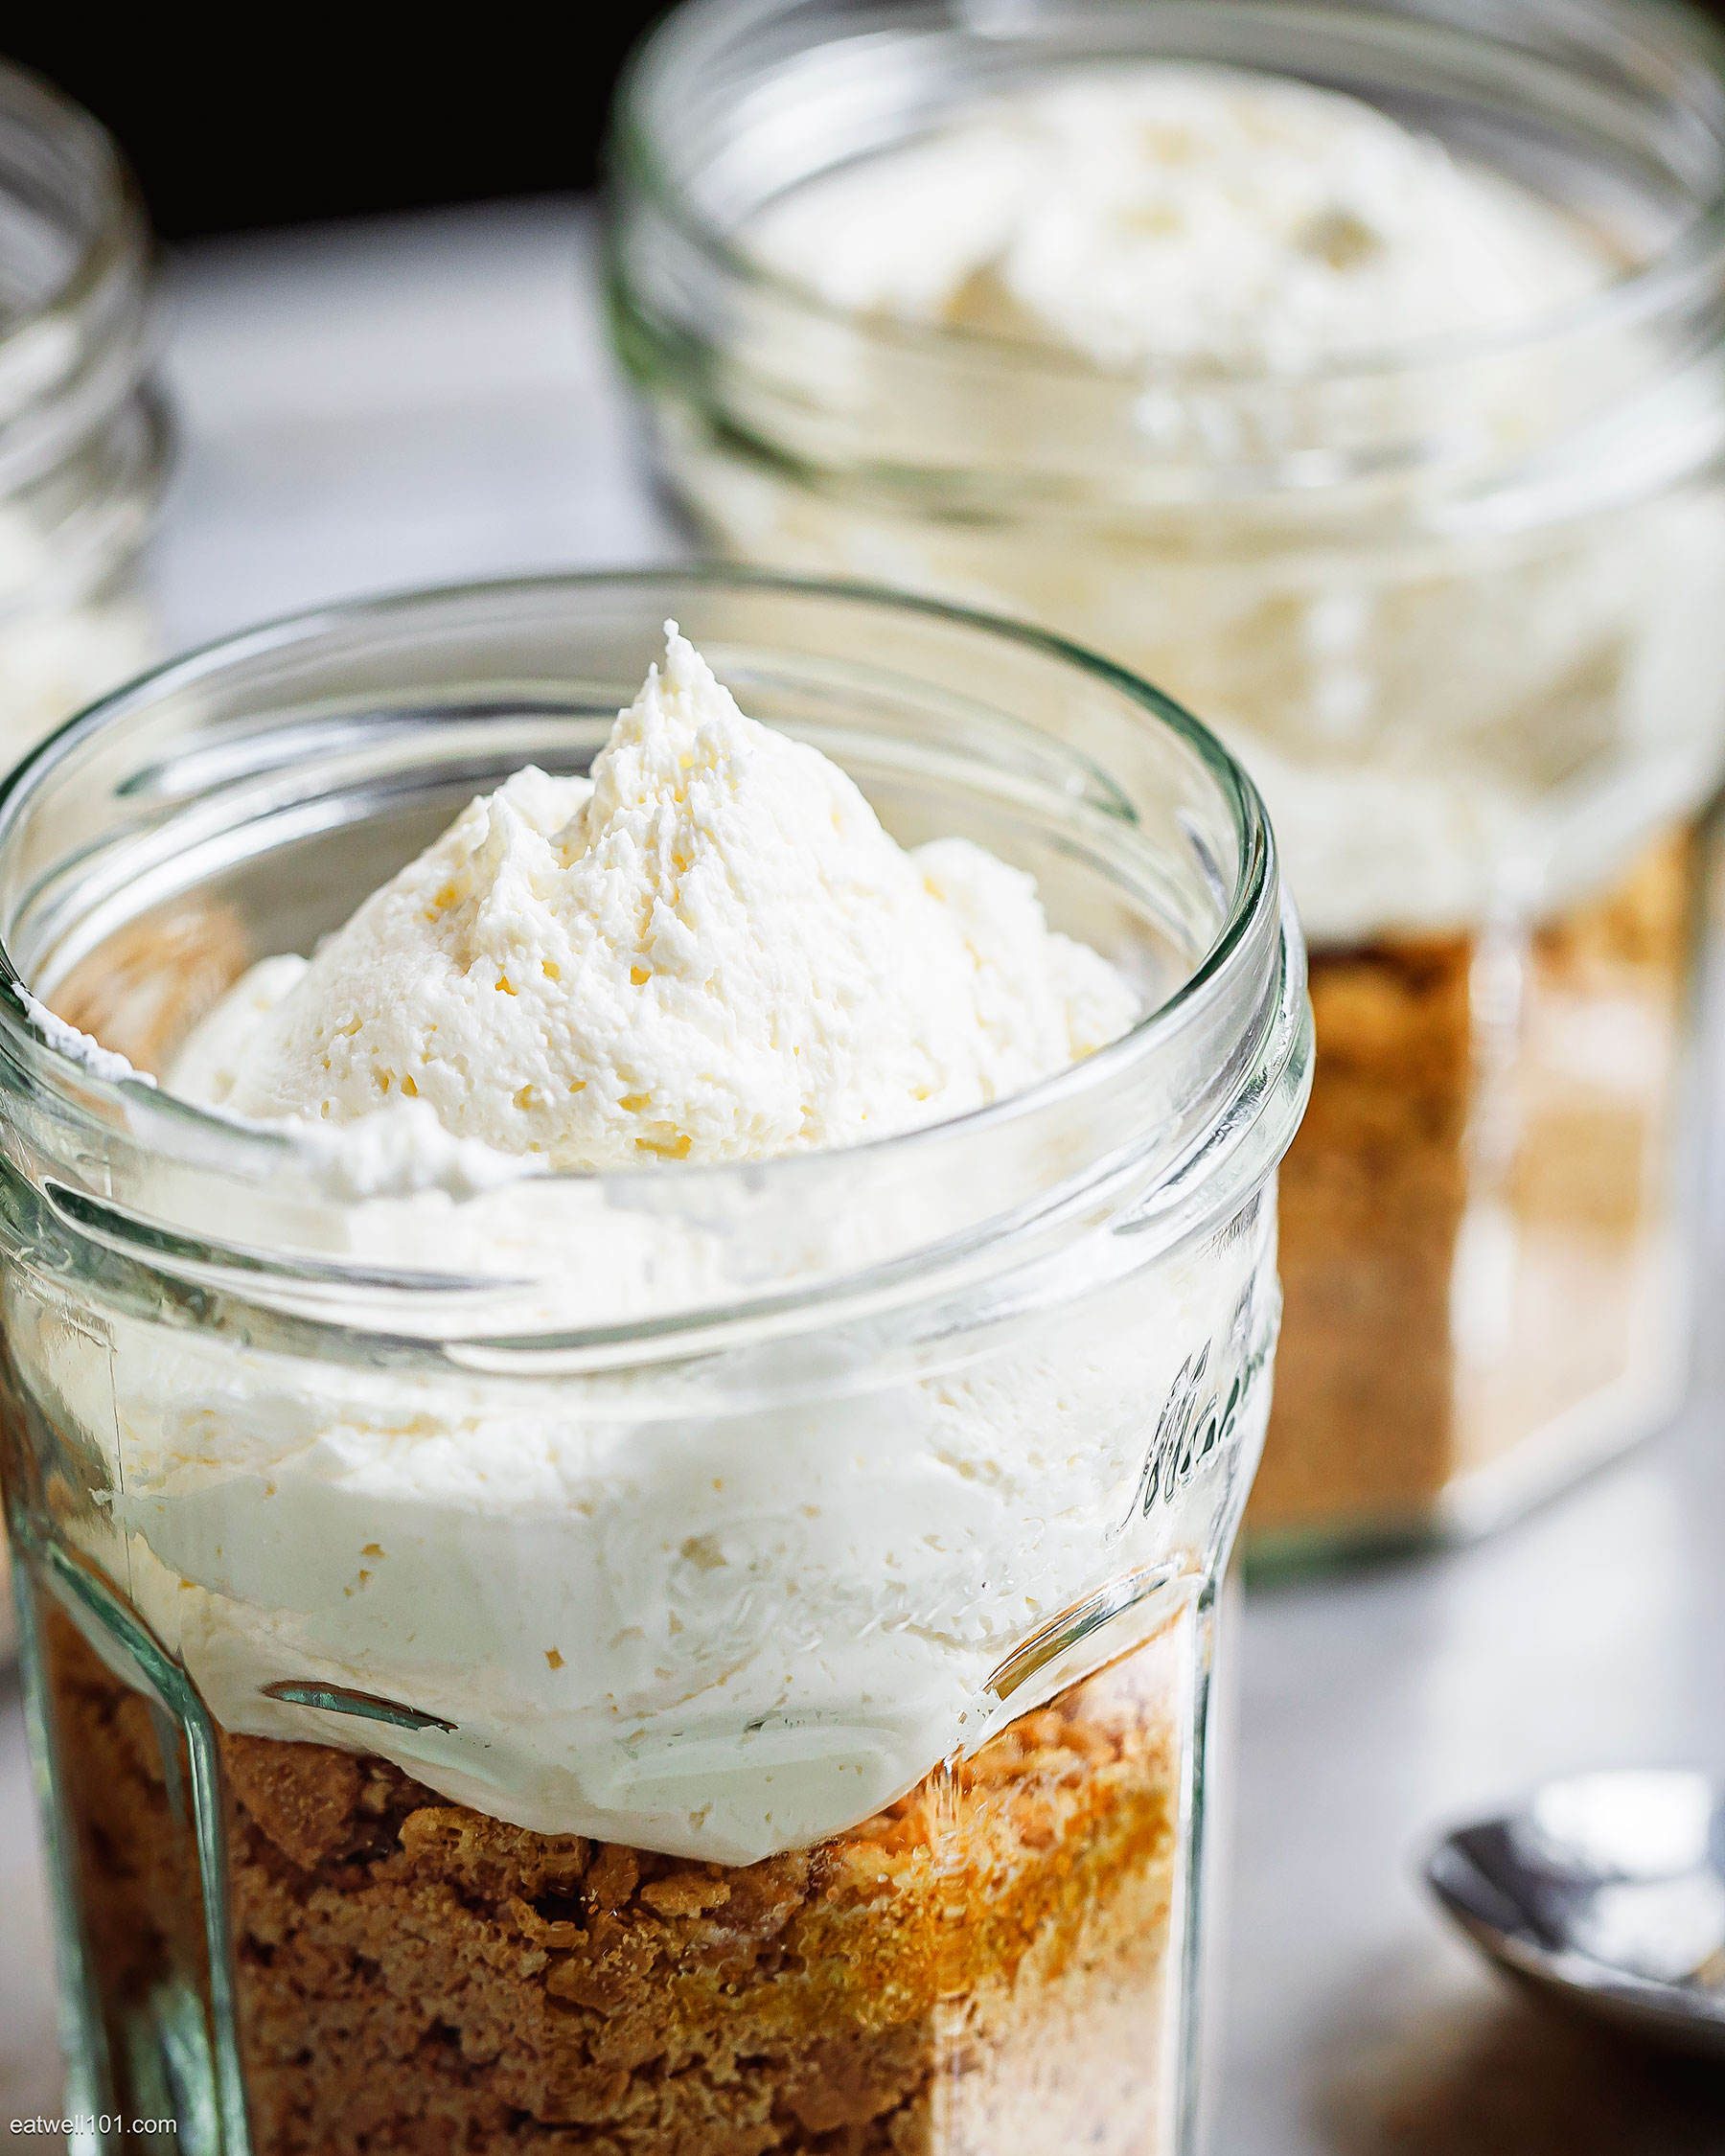
No-Bake Vanilla Cheesecake Jars – These no-bake vanilla cheesecakes in a jar are an awesome dessert, picnic, or backyard bash treat. The cheesecake jars have a golden, buttery graham cracker crust, creamy, and a no-bake cheesecake filling. These make a crowd-pleasing dessert for any occasion. Enjoy!
Table of Contents
Ingredients list for the Vanilla Cheesecake Jars
- 4 tablespoons unsalted butter, melted
- 2 cups graham cracker crumbs
- 1 cup heavy whipping cream, cold
- One 8-ounce block cream cheese softened to room temperature
- 1/3 cup granulated sugar
- 2 tablespoons sour cream, at room temperature
- 1 teaspoon lemon juice
- 1/2 teaspoon vanilla extract
No-Bake Vanilla Cheesecake Jars
These no-bake vanilla cheesecake jars are so good and take all of the worries out of your regular cheesecake. This easy no-bake vanilla cheesecake recipe is a spin on a traditional cheesecake recipe that is served cold in small individual portions and requires absolutely no baking!
How to make the vanilla cheesecake jars
The method to make the vanilla cheesecake jars is very straightforward. Crush the graham crackers and mix with melted butter. Whip the heavy cream until fluffy. Whip the cream cheese with sour cream, lemon juice, vanilla, and sugar, then fold the whipped cream into the cream cheese mixture. Scoop into the mason jars, on top of the graham crackers. Easy!
Directions
How to make the vanilla cheesecake jars:
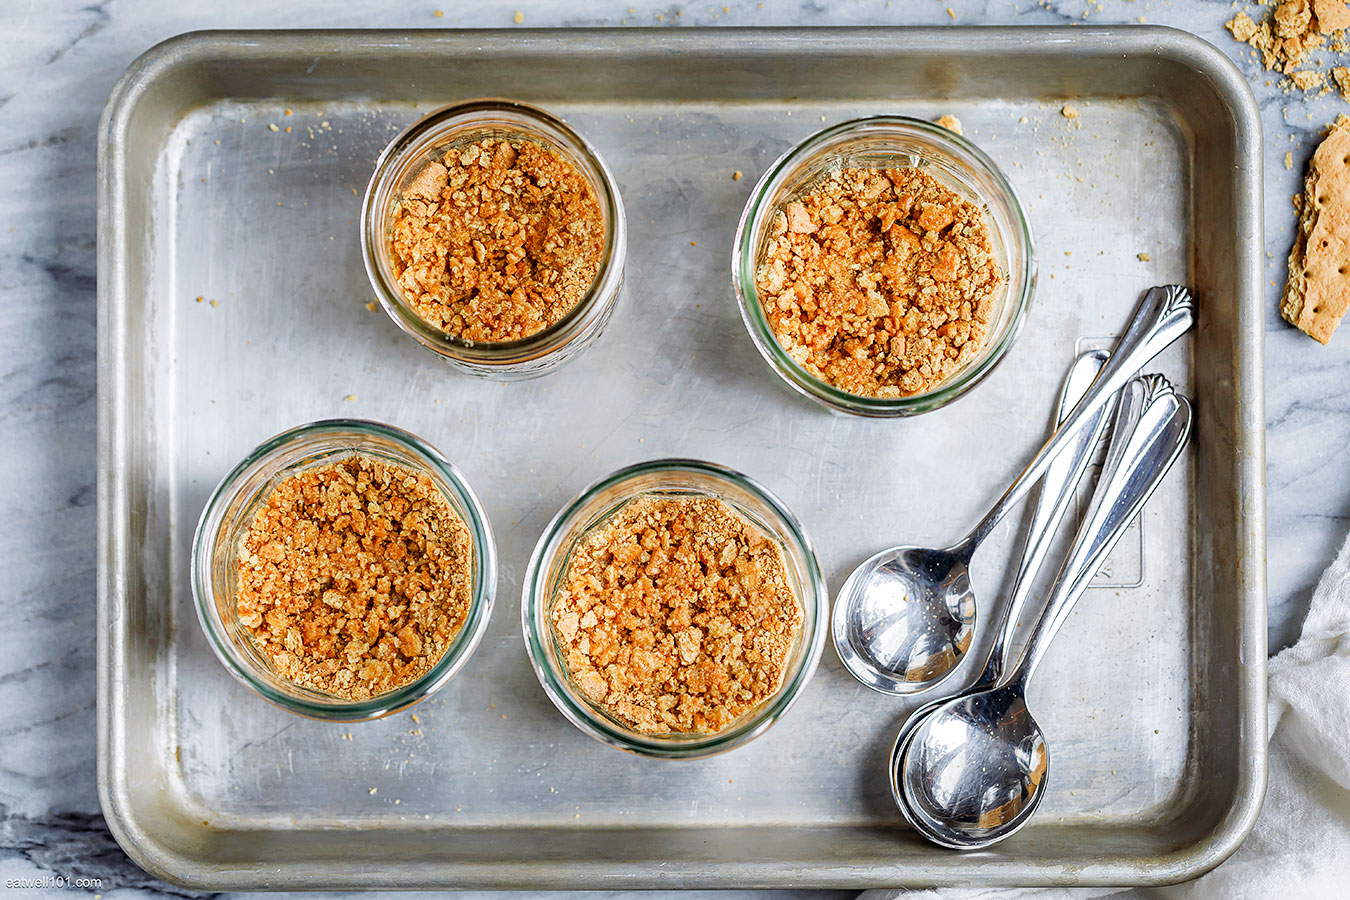
1. Melt the butter in the microwave in a large bowl. Stir in the graham cracker crumbs and mix well – The graham cracker crumbs will get slightly sticky. Spoon a generous amount of graham crackers into the jars. Set the jars aside.
2. Whip the chilled heavy cream until stiff peaks form using a hand or stand mixer. Set the whipped cream aside.
3. Beat the cream cheese, sugar, sour cream, lemon juice, and vanilla extract together until smooth and creamy. Make sure to break down any lumps of cream cheese.
4. Using your mixer on low speed or a rubber spatula, fold the whipped cream into the cheesecake filling until combined. Combine gently so the whipped cream doesn’t collapse.
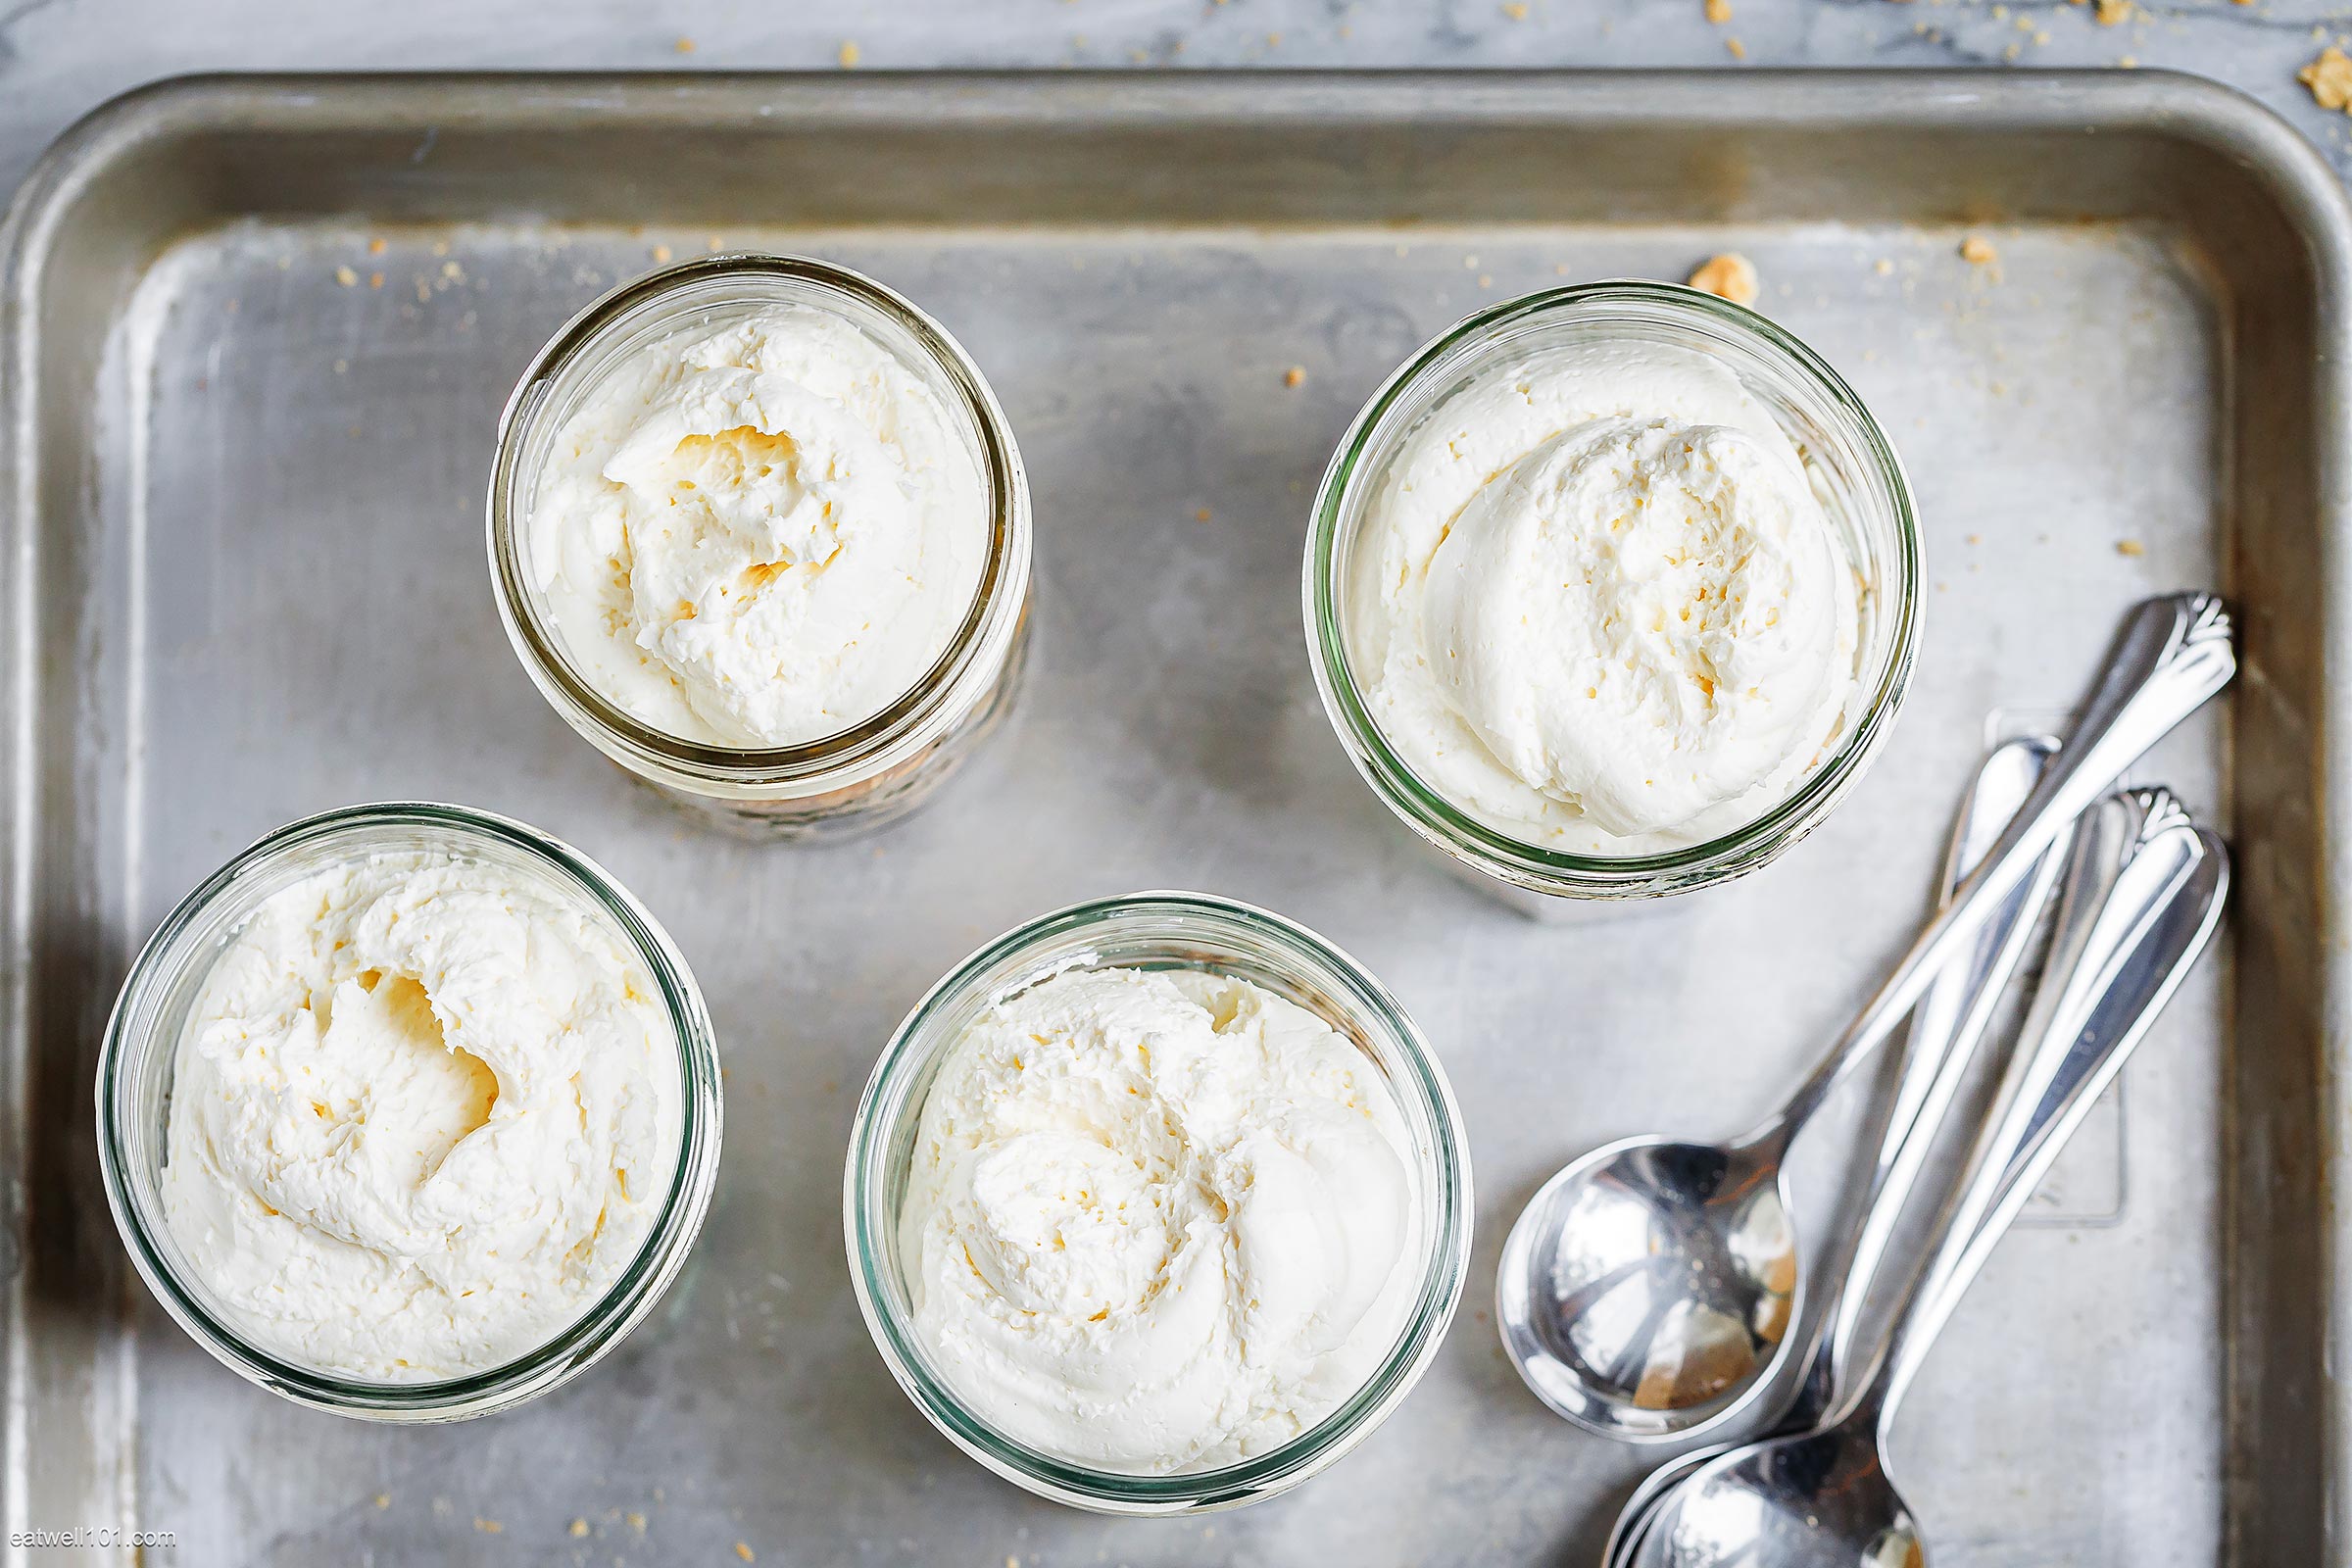
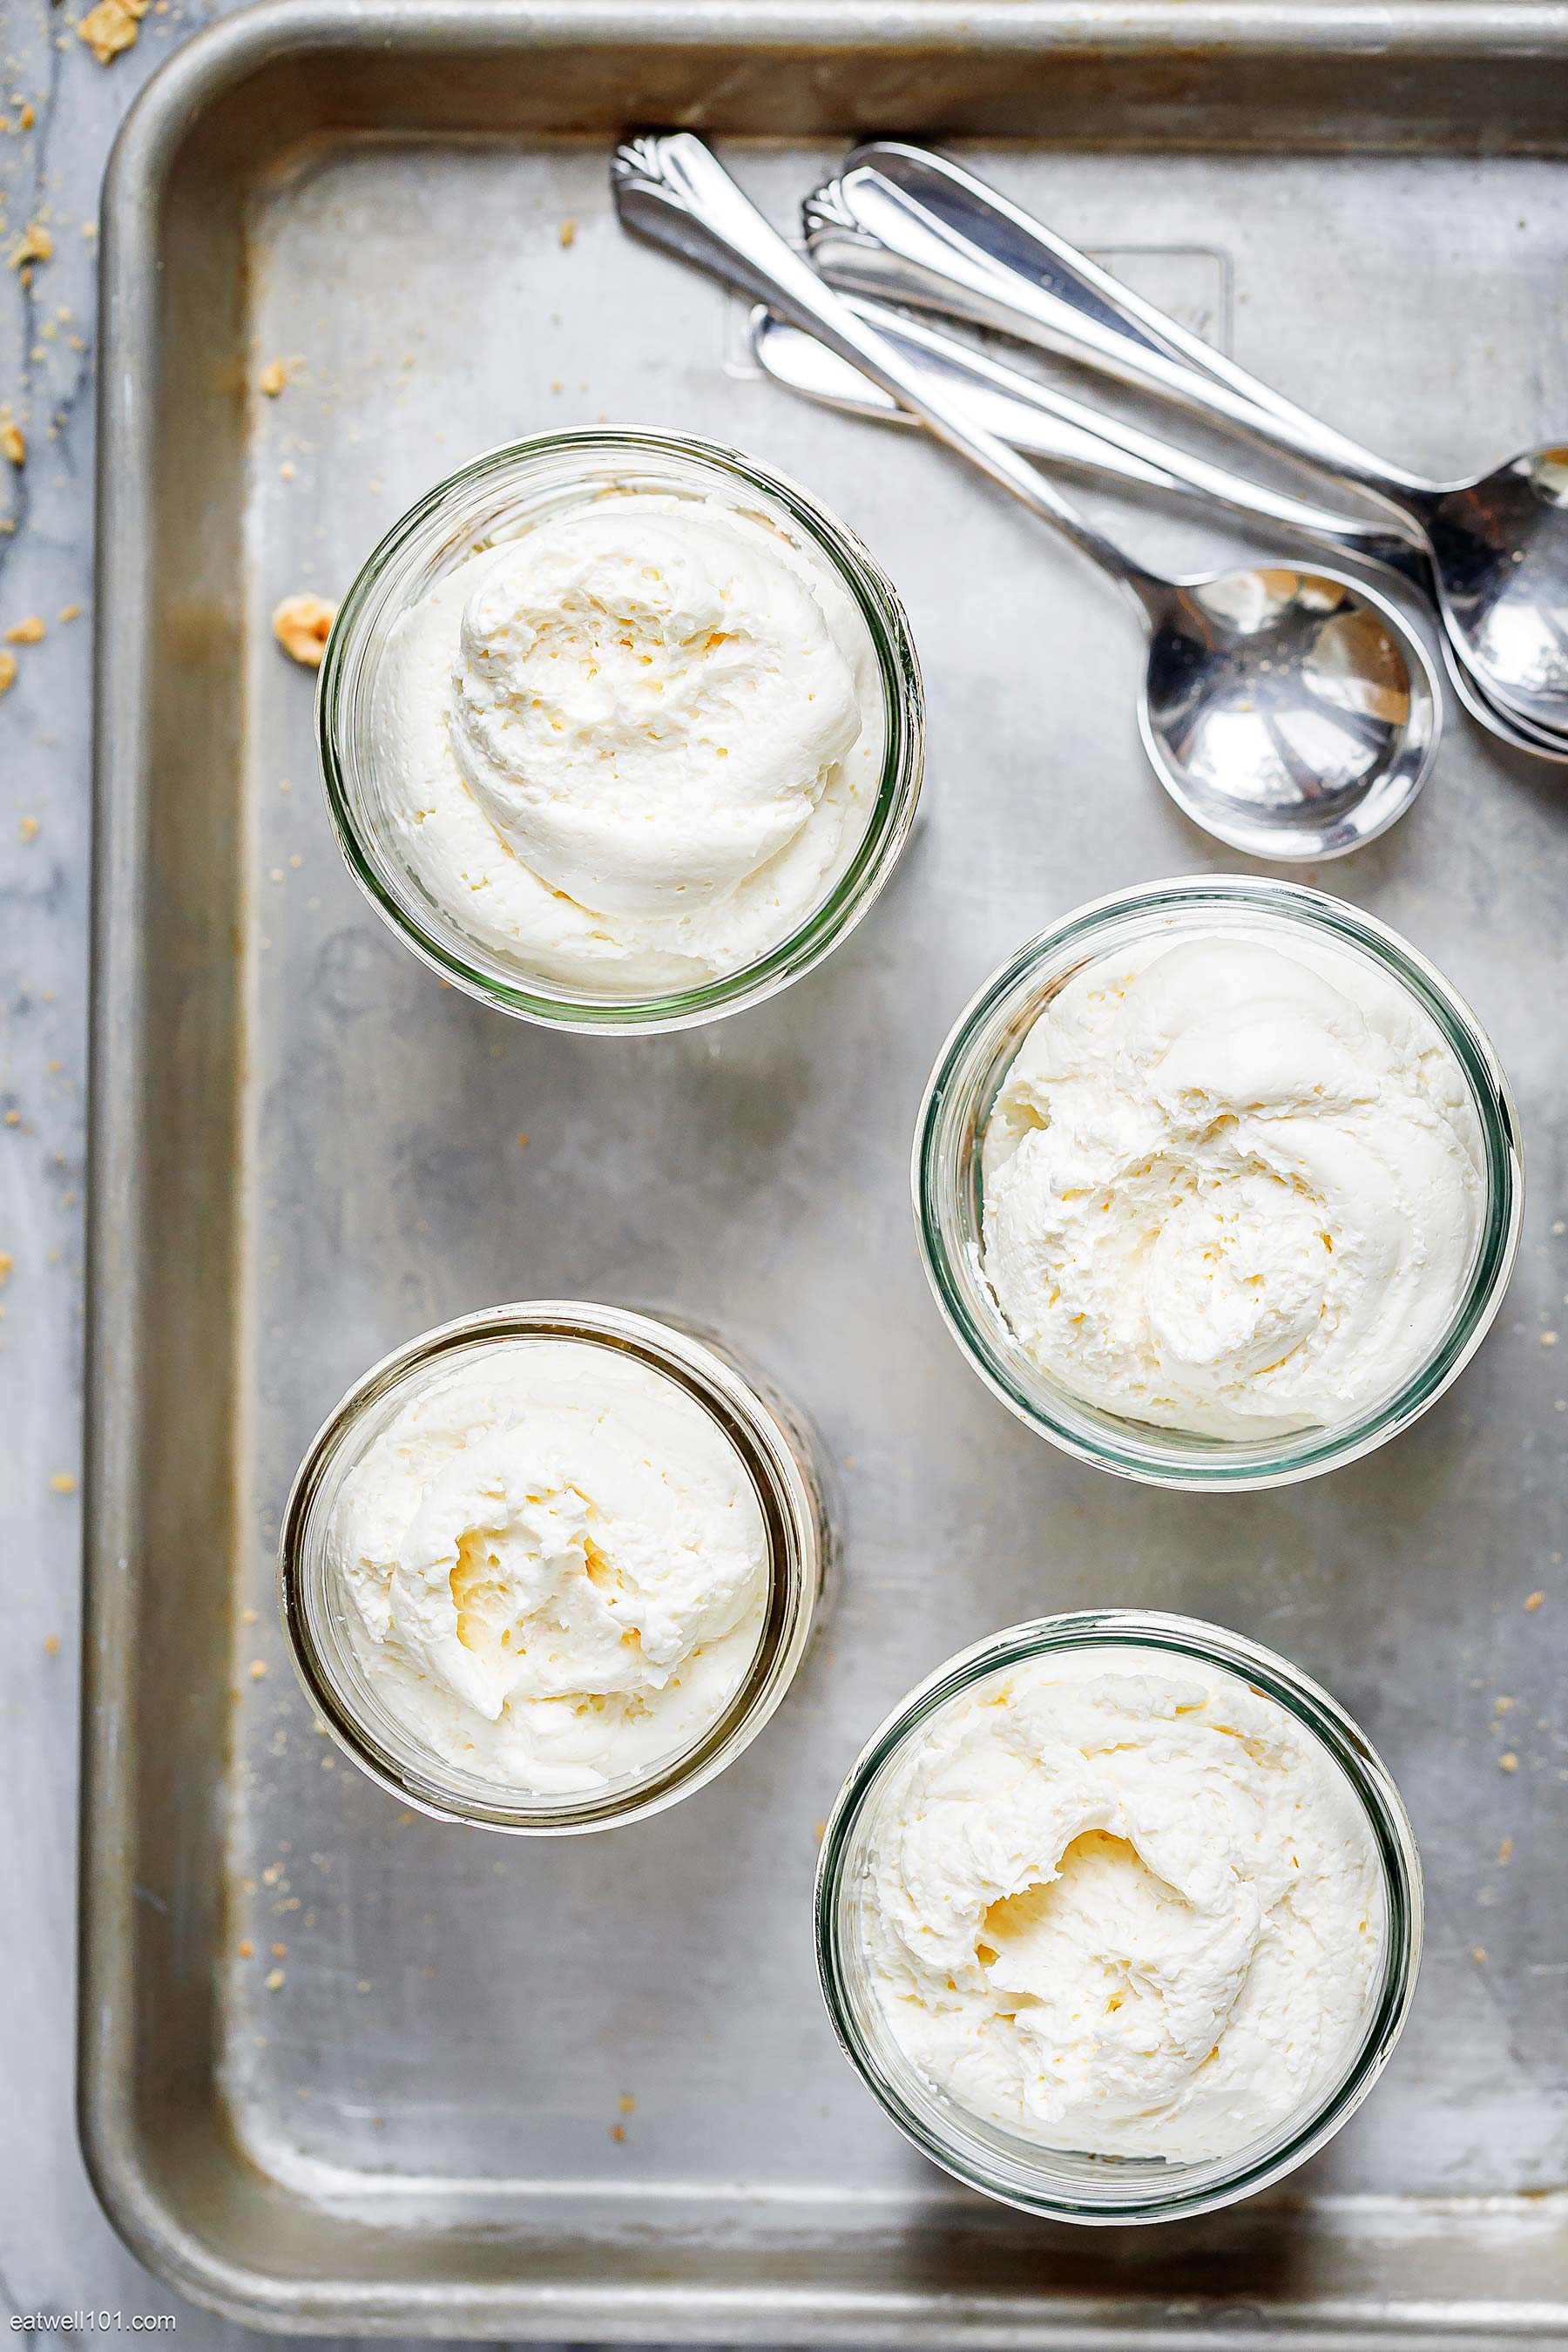
5. Layer a couple of large spoonfuls of filling on top of the graham cracker crust in the jars.
6. Chill the vanilla cheesecake jars until ready to serve. Enjoy! ❤️
No-Bake Cheesecake Variations
Here are a few ways you can switch up the flavors of these mason jar cheesecakes:
- Top them off with your favorite fruit, nuts, or chocolate. Add fruits like blueberries, cherries, raspberries, peaches, etc…
- Instead of graham crackers, you can use crumble topping, shortbread cookies, or other types of cookies.
- You can add another fruit extract instead of vanilla: Try orange blossom for example!
How long to keep the cherry cheesecake jars?
You can keep leftover vanilla cheesecake jars covered in the refrigerator for up to 3 days.
Can we freeze cheesecake in a jar?
Yes, you can freeze these no-bake vanilla cheesecake jars. Just cover them tightly and store them in the freezer for up to 3 months. Allow the cheesecakes to thaw in the refrigerator overnight, then serve and enjoy.
How to make the vanilla cheesecake jars in advance?
These easy cheesecake jars can be made 1 to 3 days in advance. You can layer the crumbs and the cheesecake filling and keep the jars covered in your refrigerator until you’re ready to serve.
More cheesecake recipes
- Blueberry Cheesecake Smoothie
- 3-Ingredient Cheesecake Fat Bombs
- Strawberry Cheesecake Mousse
- Strawberry Cheesecake Frozen Yogurt
