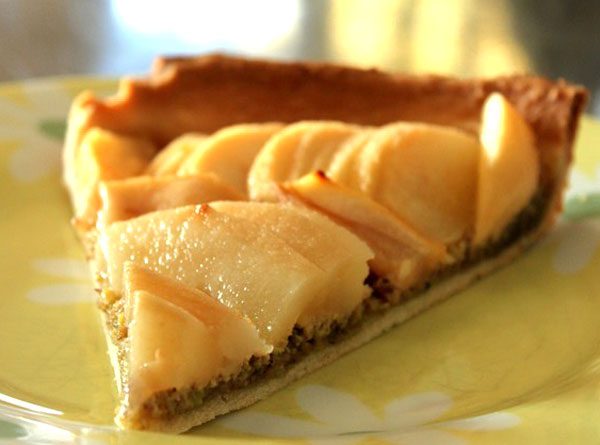


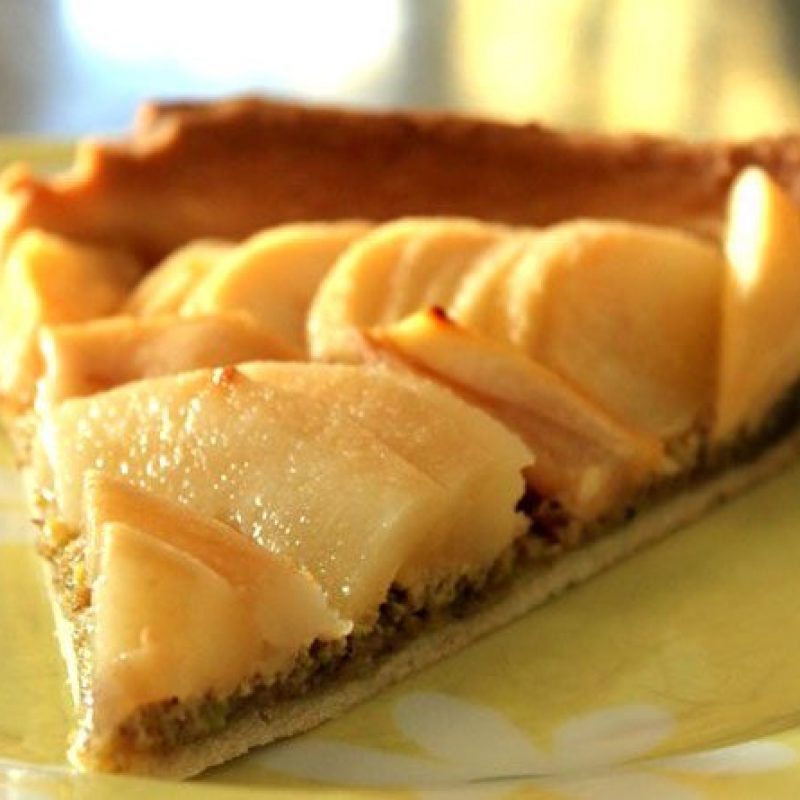
The association of pistachios with pear is perfect: don’t hesitate to load up with pear, the more there are, the more the result will wake up greediness…
Ingredients list:
- A roll of cookie dough (yes I know shame on me, no time to do it…)
- 8 pears
- 2 tablespoons ginger syrup (optional but very interesting…)
- 1/2 cup (100 g) hazelnuts
- 1/2 cup (100 g) of shelled unsalted pistachios
- 2 tbsp muscovado sugar (or brown sugar)
- 1 tbsp of honey
- 2 tbsp (30 g) butter
- 1 egg yolk
 Photo credit: © Eatwell101.com
Baking instructions
Fire up the oven to 360°F (180°c).
Crush hazelnuts and pistachios in a bender. Add sugar, honey, butter and the egg yolk then blend again until you get a kind of a compact and sticky paste. Your pistachio paste is ready!
Line the pastry in the cake pan, prick all over with a fork and spread the entire surface of the dough with pistachio paste.
Peel the pears, cut them in halves, remove the core and slice them into fine strips before placing them on the pie.
Before baking, brush the pears with ginger syrup or sprinkle just a veil of powdered sugar and bake for 30 minutes.
Absolute vigilance warning: children like this pie!
So it’s much wiser to eat it discreetly among adults, once all kids are connected together on their Nintenstuff …

Leave a Reply
michaelson
2012-09-03 01:27:16
send me this recipe for pear tart


