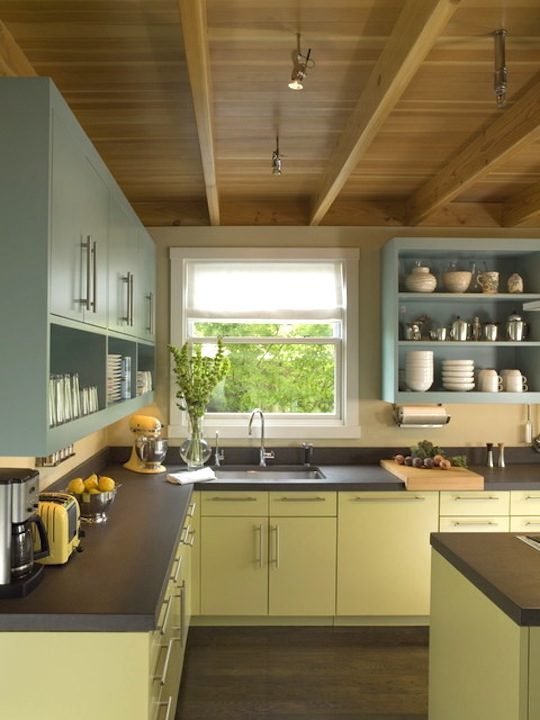
Are you fed up with your old laminate kitchen cabinets? Painting the cupboard doors and drawer fronts is a great way to revamp your old kitchen without having to break the bank and buy new ones. If you think that painting laminate kitchen cabinets is impossible, the truth is that it’s very easy if your just take time to do it properly.
Painting your laminate kitchen cabinets the right way will save you time and a lot of money. That way you can invest in more important items for your home.
How to paint laminate kitchen cabinets
Painting kitchen cabinets is not a quick task. But it’s still easy! Many people get stuck when they come to consider painting on laminate because they think that paint cannot get a proper grip on the surface. But as always in painting work, the key is the preparation of the surface, and the primer work.
The biggest point is that almost all laminate kitchens have flat surfaces with modern lines so you won’t bother with moldings and carved details. This will be much easier for sanding and surfacing
The equipment you need
Before you get started, go shopping and gather up these items:
- Paint – Oil based or 100% acrylic latex, semi-gloss or gloss. Semi gloss works best and is easily washable.
- Primer – Don’t skip the primer. It’s just as important as the paint itself! Specific primers for laminate surface exists, buy the best quality you can. Make sure it’s sandable.
- Degreaser or TSP
- Sponge
- Gloves
- An angled brush or a paint sprayer (you can rent or borrow one). Using a sprayer will probably save you a lot of time, but be aware that it requires a lot more preparation.
- Sandpaper – You need to buy medium (100 grit) and extra fine (220 grit).
- Tack Cloth
You will also need additional equipment: plastic sheeting to protect your counters, painter tape, and painter’s pyramids to set your cabinet doors on while drying. You’ll also need a vacuum.
The 8 steps to reface your laminate cabinets
1. Preparation
Remove cabinet doors and drawers and give everything a good cleaning with TSP (TriSodium Phosphate), to remove any grease or dirt. Remove handles and knobs with a screwdriver. Store them in distinctly labeled boxes so they don’t get mixed up.
2. Patch
Fill in holes, dents or dings with a sandable, paintable wood filler. Generally this applies mostly to plain wood cabinets, but sometimes laminate surfaces can be scratched. You can skip this step if your cabinets are ok.
3. Sand
This is the most boring part. Sand all surfaces with medium-grit sandpaper. Do it by hand or using an electric sander (be careful with the edges, the sander can carve and flatten sharp angles… so be cautious not to end up with round-edged cabinets doors). Follow up with a good wipe down with a dry cloth to remove all dust. If you don’t want to paint inside doors and cabinet, focus only on exterior areas, but do not forget the edges. Sanding is very important because it guarantees the primer will really adhere. Since refacing your kitchen cabinets will make a lot of dust during the process, that’s where your vacuum cleaner comes in.
4. Prime
Now it’s time to apply primer. If you want a deep intense color for your cabinets’ finish, you can add some pigments to your primer to get a better color coverage with the final coat. Your paint retailer can do this for you, depending on your desired finish.
5. Sand, prime and sand again
If you want an extra-smooth finish on your cabinets (I’m sure you do), you may want to sand and prime and then sand one last time, using extra-fine grit sandpaper. Think of these craftsmen who work on lacquer furniture for months, got it?
6. Clean
Ensure all surfaces to be painted are completely free of dust and grit.
7. Spray or brush on the paint
Be aware that spraying can be tedious concerning the preparation as you have to mask and cover everything. It’s better to work on the outside to ensure better ventilation. But if you’re stuck in your apartment, install plastic sheeting to close off other rooms. If spraying doesn’t appeal you that much, simply paint using the best paintbrush you can afford. Use several shapes of brushes: angled, straight and small for the details.
You will want to apply at least two coats of paint for an even finish. Semi-gloss is the best finish to use for cabinets refacing because of its durability and ease of cleaning. Gloss is risky because every scratch or fail will be easily spotted. Gloss painting is more appropriate for professionals. Avoid matte paint at all costs; it’s great for walls, not for furniture!
8. Re-Install
Make sure the paint has dried and cured fully before attaching the fronts because there 80% chance they will stick to the boxes. Check with your retailer or consult the paint can for information on drying and curing times. Water based acrylic paints are usually quicker to dry and cure.
Optional Step
Some people suggest finishing your cabinets with one or two varnish coats, sanding once in between. Although this offer a good mechanic protection, this is not mandatory as this can cause you cabinets color turn yellowish over time, like an old painting.
After one day or two, your painted, laminate kitchen cabinets have completely dried and cured. You can re-assemble and re-install the boxes and finished cabinet fronts and doors.
Congrats, now it’s time to admire your work!
(PHOTO: www.studio-sw.com)

