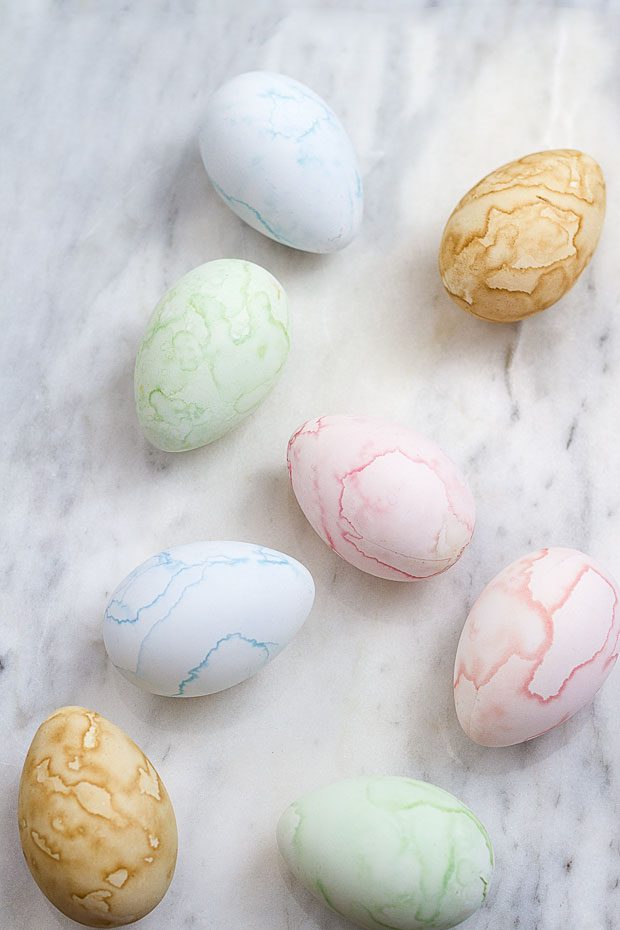
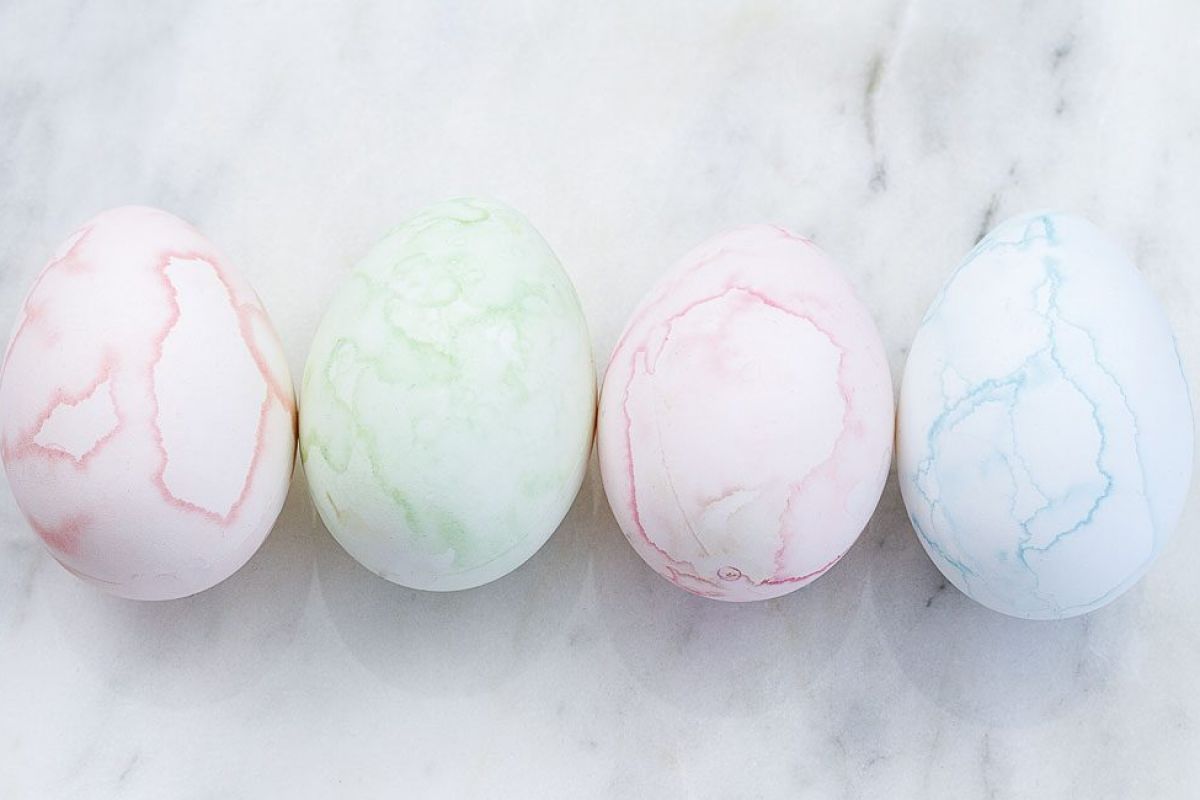
Decorating for Easter already? This quick tutorial will show you how to decorate easter eggs using natural homemade dyes. Naturally dyed Easter eggs are super fun to make and the process lends itself easily to experimentation and improvisation. You’ll be blown away because the results are just gorgeous.
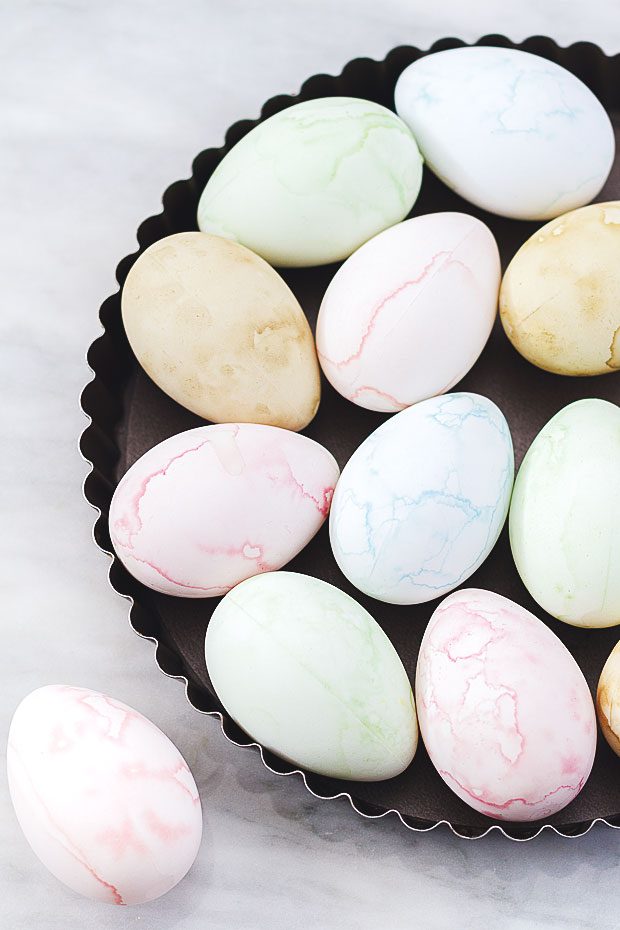
Supplies
- A set of matte plastic eggs
- Natural dyeing agents: coffee, red cabbage, and beet
- White vinegar
- Baking soda (optional, to make green from red cabbage)
- Slotted spoon
- Wire rack
Directions
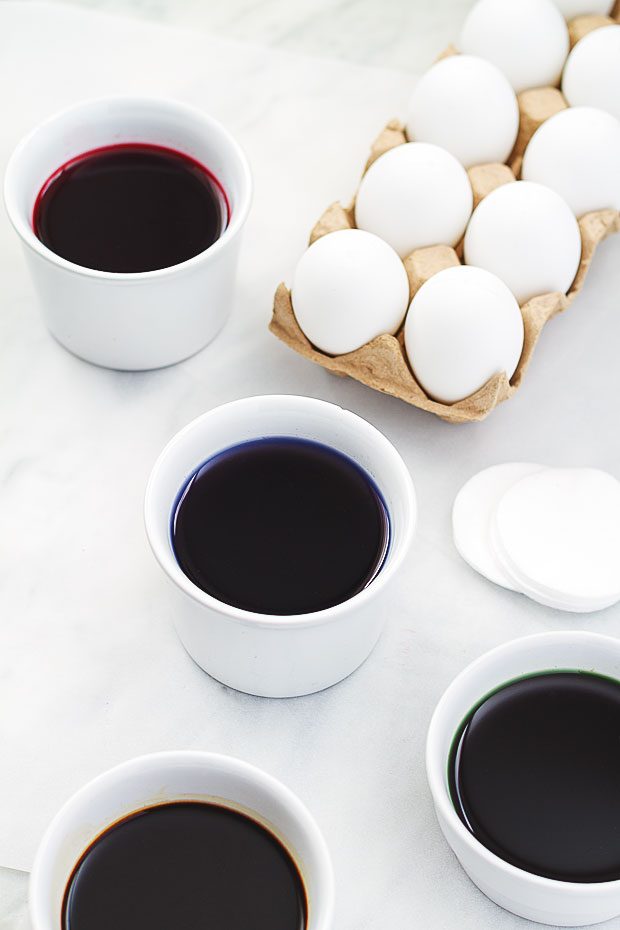
1. Select a dyeing agent (here we used coffee, red cabbage, and beet), and place in a saucepan. Add 1 cup (250ml) water, and bring to a boil, then lower heat. Allow the ingredients to simmer for 30 minutes then strain dye into ramekins or small bowls.
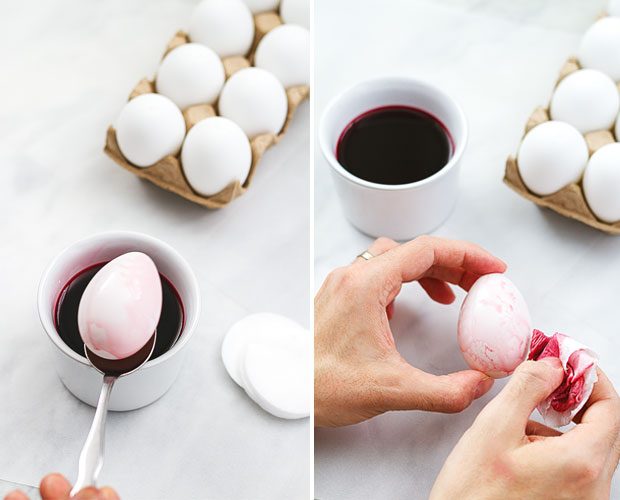
2. Soak eggs in the dye of your choice, and move with a spoon to coat evenly.
Color guide:
- Light Gold: Soak eggs in black coffee dye, 30 minutes.
- Light Pink: Soak eggs in the beet dye, 30 minutes.
- Light Blue: Soak eggs in red cabbage solution, 30 minutes.
- Light green: Soak eggs in red cabbage and baking soda solution, 30 minutes.
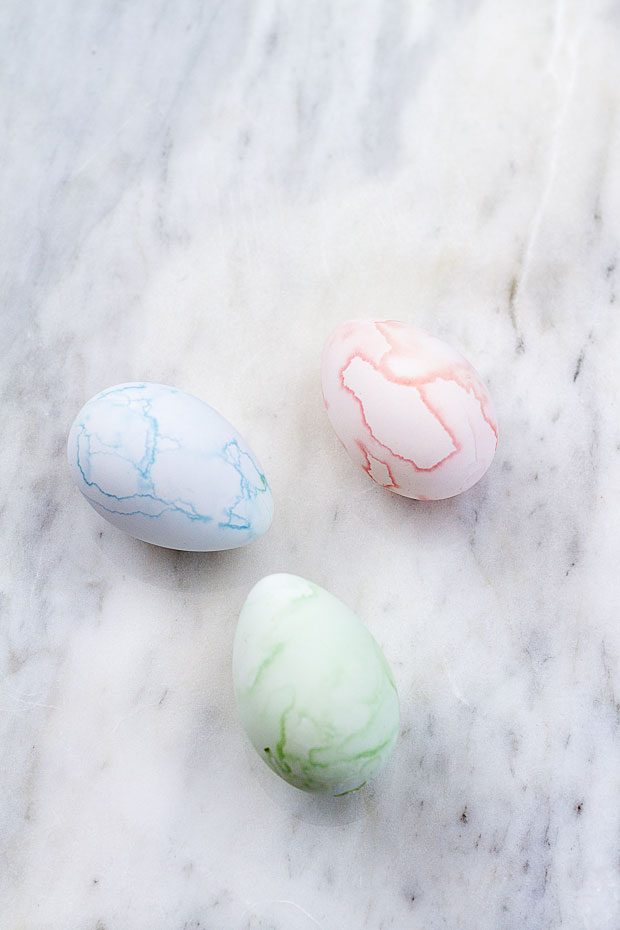
3. Remove the eggs from the dye and allow to dry. Dip a piece of cloth or paper towel in dye and apply small amounts on the egg surface to create a marble effect. Allow to dry completely on a wire rack.
4. To add a touch of finish, spray your eggs with a coat of varnish and let dry.
